A Personalized Solution for Your Soap
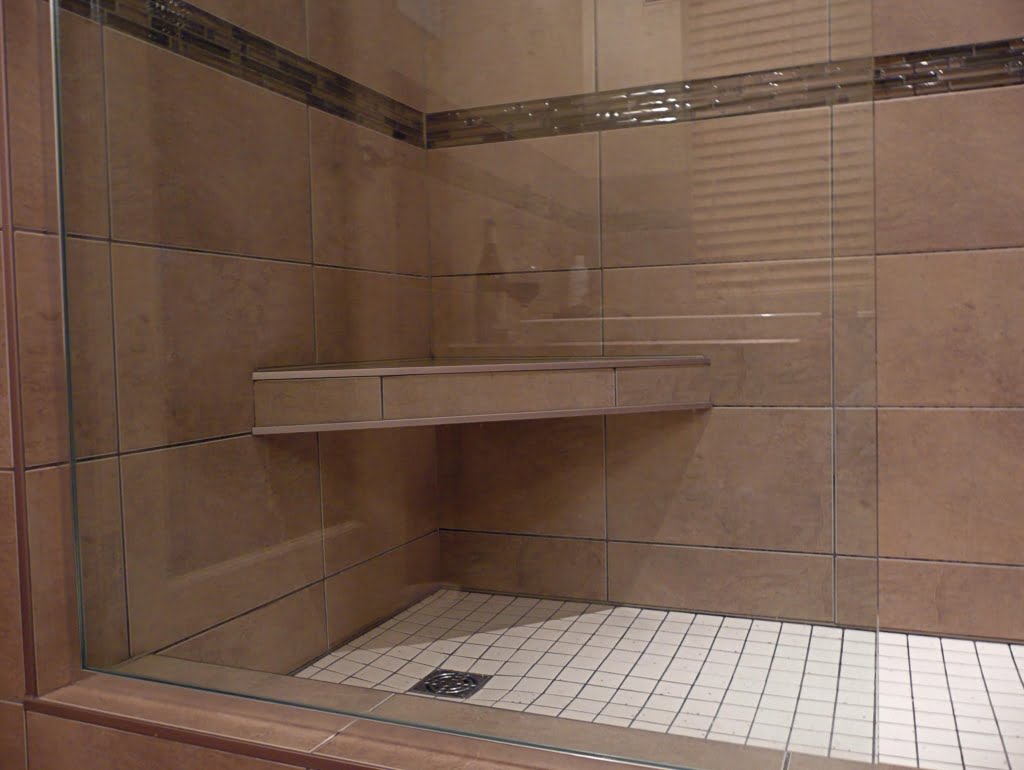
For those of you wishing to do some home improvements in your bathroom but only have the weekend to do it, or you just don’t feel like tearing down the walls, then here is a simple weekend project to get your feet wet: how to install a new ceramic soap dish on your tiled shower wall.
Aside from keeping your soap from getting soggy, a soap holder at the right height and position is an added convenience, so you don’t have to bend down excessively and is an added beautifying feature to enhance your décor.
Just remember to pick a dish that matches the finish and color of your existing wall tiles so that it blends in with the rest of your shower stall.
It should be noted here that if you are set on installing a new soap holder but your shower stall is made of fiberglass or acrylic surround. Fortunately, you can still purchase a soap dish that can be glued onto the wall as an alternative to the tile method.
Safety is always an issue, so make sure you have eye protection in case of flying tile chips. The tools you will need include:
Some of the building materials you will need are:
- tile adhesive
- masking tape
- tile grout
- and a 4×6 or 4×4 inch ceramic soap dish to fit your existing tile size
Establish the best position for your new soap dish. A good distance is about sixteen to twenty inches (approximately four or five tiles) underneath the shower head to keep the soap safe from excessive shower spray.
Establishing the Most Convenient Height
Step One# Put on your eye protection and remove the grout from around the tile by scratching it out using a grout saw or awl.
Step Two# Select the tile you want to remove. You can use a hammer and nail set to punch a series of divots along the surface of the tile in an “X” pattern as starter holes for when you drill.
Using your drill and a ¼ inch masonry drill bit, bore a series of holes following the “X” pattern on the tile. It is very important that you are careful not to drill into the wall surface behind it.
Step Three# Carefully split the tile into smaller manageable pieces by hitting the edge of each hole with a ¼ inch wide cold chisel and a hammer and systematically pry out the broken pieces. Make sure the surface is clean of any debris such as old mortar or adhesive.
Step Four# Next, you want to ready the soap dish and wall for bonding by applying a thin layer of tile adhesive on both the wall and the back of the soap dish using a notched trowel or a putty knife.
Just make sure to scratch ridges into the adhesive if you are using a putty knife as the ridges helps to eliminate air bubbles and improves the distribution of the adhesive on the bonding surface for a better seal.
Step Five# With even pressure, firmly press the dish into place. Verify the dish is level and then secure it with a couple of strips of masking tape so that it will not shift while the glue dries.
Step Six# You must wait at least twenty-four hours for the adhesive to completely dry then fill the space around the soap dish with grout. The grout should be left overnight to dry before using your soap dish.
Take your time, work slowly and don’t rush the process and you will have installed a beautiful brand new ceramic soap dish to compliment your bathroom décor for the whole family to enjoy!


