A Durable Substrate for Walls and Floors
Cement backer board is a product made primarily as a substrate (waterproof base) for ceramic tile. It is normally installed over plywood or some other underlayment on walls, countertops or floors because it is unaffected by fluctuating temperature changes or the presence of moisture.
Before you install the cement backer board on your bathroom floor, you must first mark off the stud locations on your ceiling and joist locations on the walls.
Once you have troweled on the thinset, you want to be able to see the marks, so you know where to fasten the backer board screws. Also its always a good idea to protect your finished floors with a tarp of some type; this prevents your good floors from being scratched by the backer board.
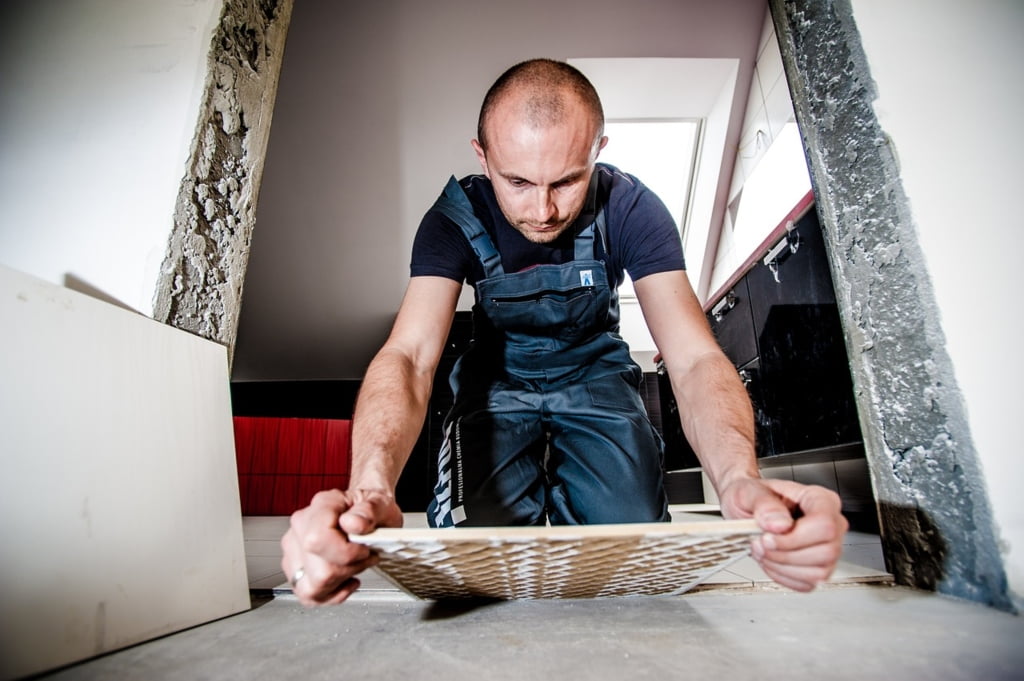
Cutting backer board is straightforward, using a drywall square or any metal square, mark the cut line. Then using a carbide backer board scriber, maintain firm pressure as you incise the line. Next, stand the backer board sheet on its edge or you can just as easily turn it over and put pressure at the scored line to snap the backer board at the line.
With the two sides still intact and at a slight angle, use a utility knife to finish the job by cutting all the way through to take apart the two halves. You can’t have rough edges when putting the backer board pieces together so use a masonry stone or contour plane with a serrated blade to smooth and flatten out the cut edge.
Mix and pour the thinset on your washroom floor and using the smooth side of your notched trowel, spread the mortar in a thick consistent layer on the subfloor (hold the trowel at about a 25-30 degree angle).
Once the thinset has been spread in front of you, turn over your notched trowel and using the notched side (at about a 60-degree angle), go over the mortar to create ridges.
Staggering Your Joints
Don’t wait too long because the next step has to be done while the mortar is still wet. Grab your backer board and like a hinge tip it one end and line the first backer board on a joist line.
It is important to keep about one-eighth of an inch space between the two backer board pieces as this gives the mortar a place to bleed as you apply pressure to eliminate any air bubbles.
One-quarter of an inch gap along the walls should be sufficient. Professional best practice is to stagger the joints as you lay down the backer board then walk on the backer board to set the mortar in place.
A phillips drill bit and a drill can be used to drive the two-inch backer board screws at the joists to fasten the backer board to the subfloor. You can also use one-and-one-quarter inch screws between the joists; a good rule of thumb is to fasten the screws at eight inch intermissions. Just make sure that the screws are flush with the backer board surface.
Next using three to four inch pregummed fiberglass mesh tape, cover all the gaps and joints between the backer board sections.
And to finish up the backer board installation, apply a thin coat of thinset mortar over all sections of the tape using a margin trowel to scoop and apply the thinset being careful to feather all the edges so that the mortar is level and no high spots are apparent.
Your bathroom floor is now ready to be tiled. The great thing about backer board is that you can use it on your floors, walls, and ceilings to provide a waterproof barrier under your ceramic tile when creating a wet room or shower enclosure in your home.